Thursday, August 13, 2015
Victoria by Jenna Rostigue
Wow.
I'm always looking forward to the projects of our design team and when I received this, I was totally out of words. I don't know how one can come up with a project like this using products from Bee Happy Crafts. Of course, not everything used here came from our store. To learn more about this project, check out Jenna's blog post.
Design Team Member:
Jenna Rostigue
Blog: http://papierush.blogspot.com/
Instagram: @paperaddict28
Monday, August 10, 2015
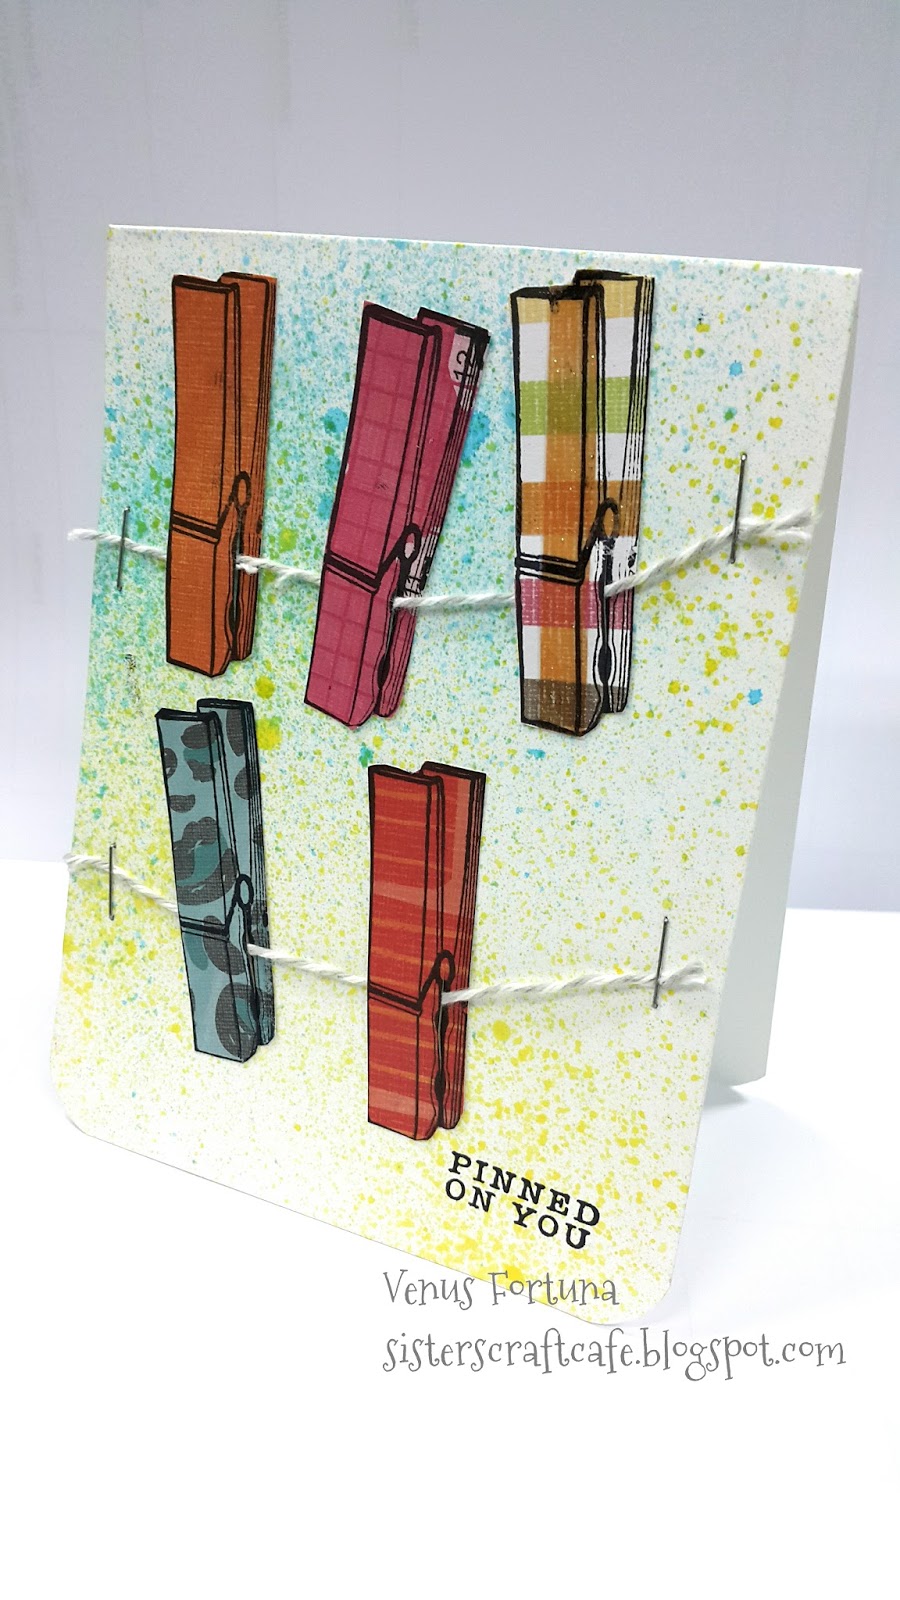
Pinned on You Card by Venus Fortuna
My eyes and my brain want to believe that those are real, 3D clothespins even though I know exactly which stamp was used to make them. Haha! This is such a cute project, Venus.
Materials Used:
| Inkadinkado Clear Stamps Bundle Cloth Pins |
| DCWV Alpha Zoo Stack |
| Stazon Ink Jet Black |
![]() |
| Baker's Twine |
Design Team Member
Venus Fortuna
Website: http://sisterscraftcafe.blogspot.com/
Instagram: venus.inkpressive
Venus Fortuna
Website: http://sisterscraftcafe.blogspot.com/
Instagram: venus.inkpressive
Friday, August 7, 2015
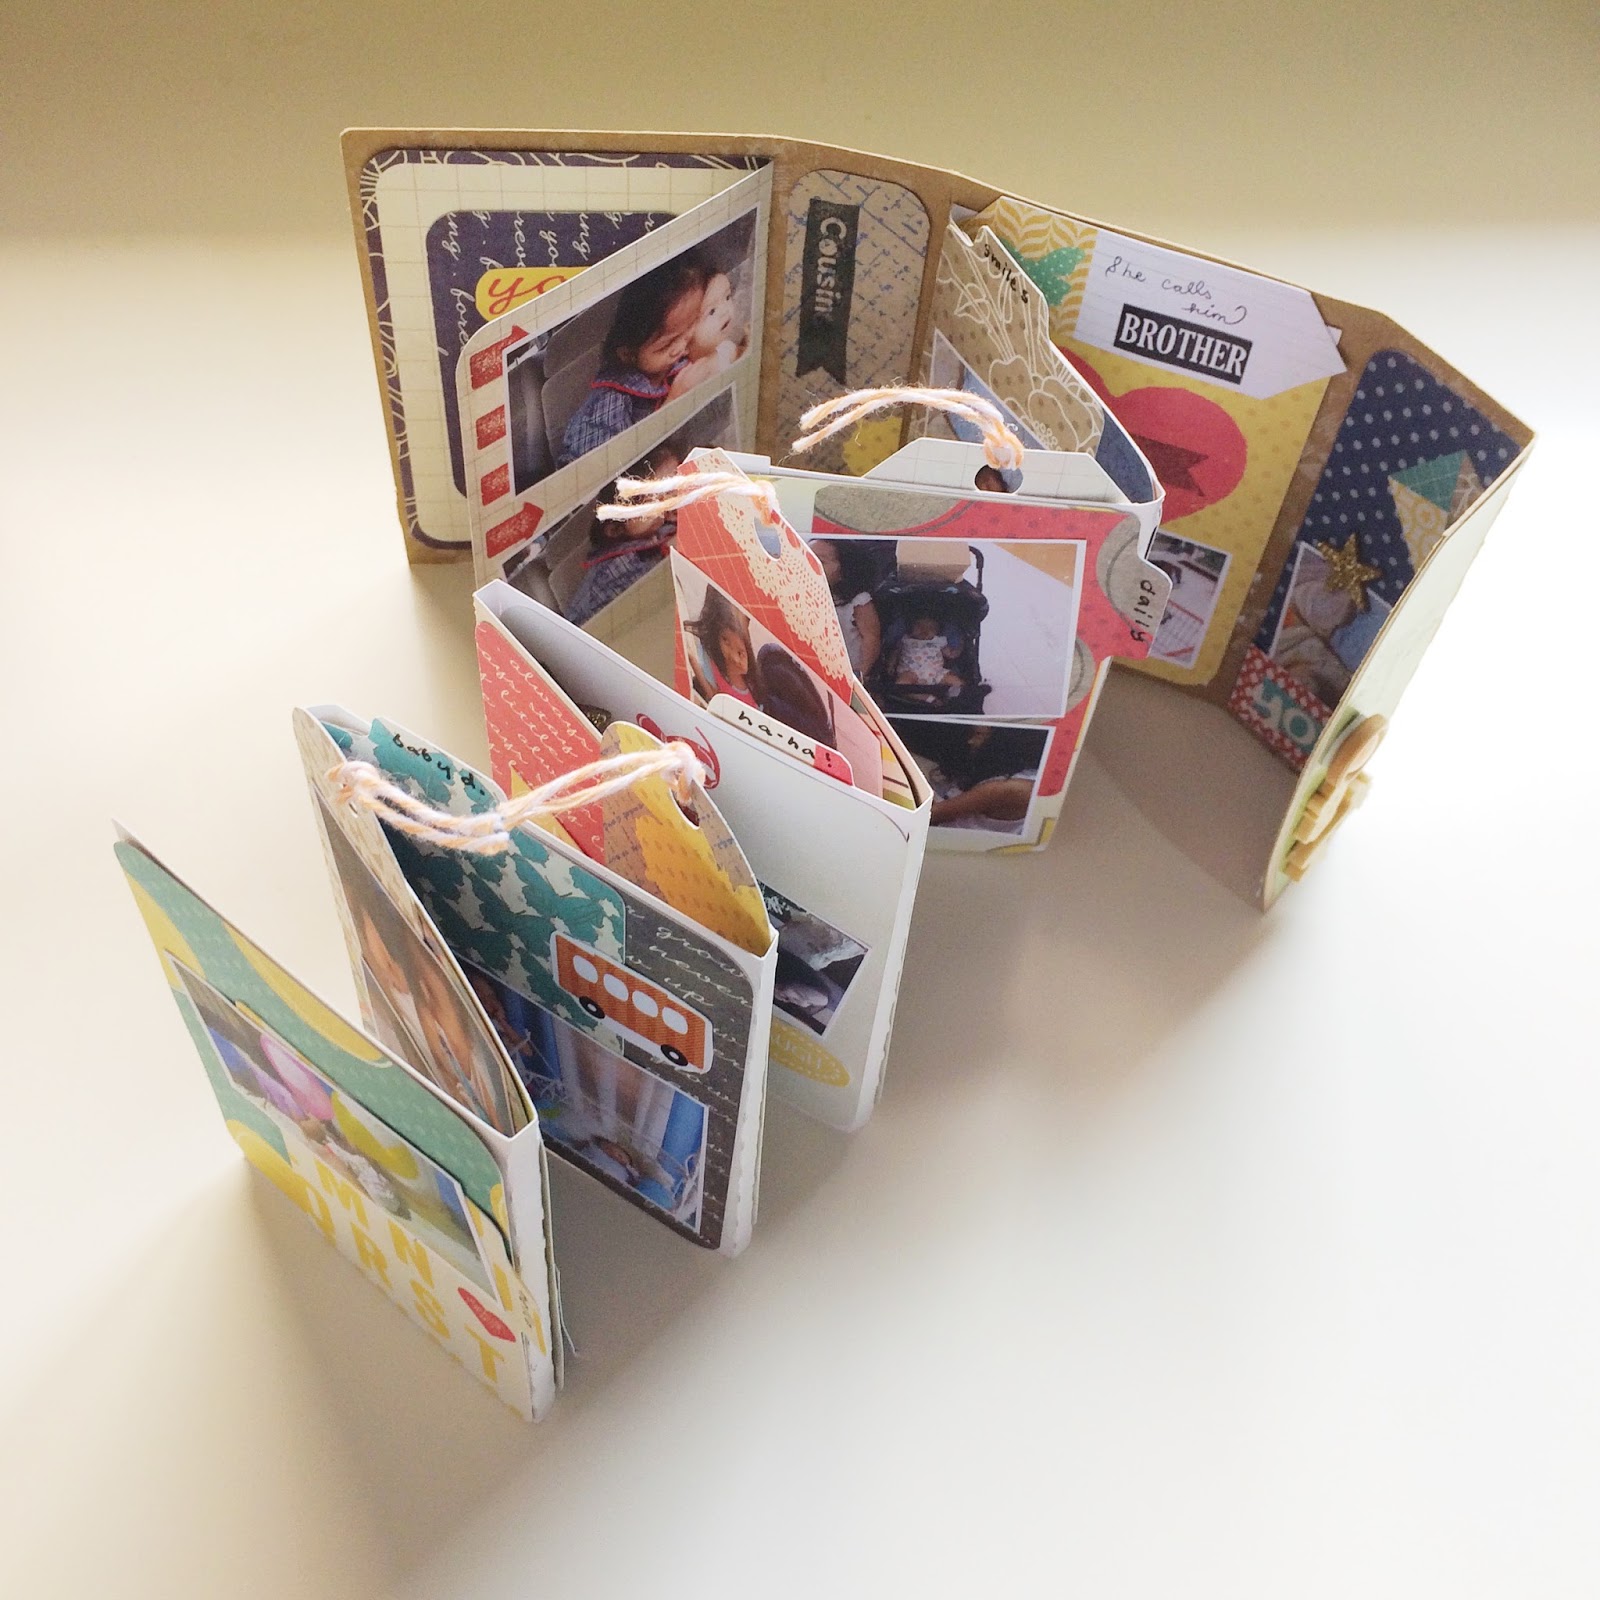
Accordion Minibook by Jen Ombania
I have piles of journaling cards in my stash. The past few days, I've been thinking of other ways to play with them so my heart jumped with joy when Jen, our design team member, emailed me this project.
Awesome! This goes on top of my craft projects to-do list. Visit her site to see how she made it.
By the way, here are some of the materials that she used:
| Project Life Azure Edition |
| Project Life Azure Edition |
| Pebbles Family Ties Stamps |
| Photo Frame Banners Pastel Small |
Design Team Member
Jen Ombania
website: http://www.thelistlab.net/
Instagram: listlab
Tuesday, August 4, 2015
Mason Jar Save the Date Card by Venus Fortuna
Check out this shabby chic card made by Venus Fortuna, our design team member. I can't believe the simple process involved in creating such a lovely card. She posted a tutorial on her blog, as well as a giveaway. Thanks, Venus!
Mason Jar Card Tutorial and Giveaway
Here are the materials that she used:
| Inkadinkao Inchie Bundle Cloth Pins Stamps |
| Die-namics Mason Jar Dies |
| 4.5" Paper doilies |
Saturday, August 1, 2015
Masculine Cards by Daniel Flororita
Are you looking for an inspiration for a masculine card? Check out these cards created by our design team member, Daniel Flororita.
CARD PROJECT #1
MATERIALS
Brown cardstock
Kraft cardstock
Jet Black Archival Ink Pad
Coffee Archival Ink Pad
Pumice Stone Distress Ink Pad
Vintage Photo Distress Ink Pad
Walnut Stain Distress Ink Pad
Stitches Bo Bunny Stamps
Typewriter Number Stamp Set
Antique Typewriter Stamp Set
Happy Birthday Celebrate Clear Stamps
Newsprint Clear Stamps
1-inch Circle Punch
Clear Crackle Paint
Adhesive Foam Tape
![]() |
| Typewriter Number Stamps |
| Krafty - Smooth Core'dinations Value Pack Cardstock |
INSTRUCTIONS
1. Form a 4 ¼ x 5 ½ inch top fold card from brown cardstock.
2. For the background, cut a 4 x 5 ⅛ inch from kraft cardstock. Ink the edges of the card piece with Vintage Photo Distress ink. Stamp the Newsprint Clear Stamp on the card piece using the Pumice Stone Distress ink. Spray the card piece with water. Use tissue paper to absorb some of the excess water to soften the stamped background. Let it dry before stamping the faux stitches using Stitches Bo Bunny Stamps on the card piece as shown and set aside.
3. Using the Typewriter Number Stamp set and Antique Typewriter Stamp set, stamp the images on the kraft cardstock then cut the images using a 1-inch circle punch. Ink the edges of the circle piece using Vintage Photo Ditress ink.
4. Apply a clear crackle paint on each of the circle piece and let it dry for about 2-4 hours. Rub some Walnut Stain Distress ink on each circle piece to highlight the crackle effect.
5. Layer and adhere the circle pieces on the card piece with adhesive foam tape for dimension and stamp the Happy Birthday sentiment as shown. (The tiny stars are also from Stitches Bo Bunny Stamp set).
6. Attach the card piece on the card front with adhesive foam tape.
CARD PROJECT #2
MATERIALS
Black cardstock
White cardstock
Watering Can Archival Ink Pad
Jet Black Archival Ink Pad
Vermillion Archival Ink Pad
Typewriter Number Stamp Set
Birthday Fundamentals Clear Stamps
Birthday Sentiment Clear Stamp
1-inch Circle Punch
Adhesive Foam Tape and Glue
Scissors
| Ruby Rock It Birthday Fundamental Clear Stamps |
![]() |
| Typewriter Number Stamps |
INSTRUCTIONS
1. Form a 4 ¼ x 5 ½ inch top fold card from black cardstock.
2. Using the Typewriter Number Stamp set, stamp the images on the white cardstock then cut the images using a 1-inch circle punch.
3. Using the Birthday Fundamentals Clear Stamps, stamp the image on the white cardstock then fussy cut it with scissor.
4. Stamp the ‘It’s your birthday!’ sentiment clear stamp on the white cardstock and cut it to a thin strip.
5. Layer and adhere the circle pieces, fussy cut piece and thin strip piece on the card front as shown. (For this card, the numbers 4 and 0 and fussy cut pieces were adhered with adhesive foam tape for dimension).
Design Team Member:
Daniel Flororita
Instagram @leinad112
Tuesday, July 8, 2014
Loom Bands
Our staff at Bee Happy have gone loom bands crazy ever since we started offering the popular product.
![]() |
| Fishtail Variants |
![]() |
| Five Row Name Bracelet |
Here's the link on how to make the Five Row Name Bracelet.
There's a reason why we didn't offer loom bands products until recently. I didn't think I have the patience and talent to make them. I was right. I made a total of 1 bracelet ever since we got the products and it's a single chain bracelet (the kind that 90s kids used to make with ordinary rubber bands), not even a fish tail. But it made my daughter very happy. Ha!
Wednesday, July 2, 2014
Featured Projects - Handmade Charms and Camera Bling
Here is another set of projects from our crafty clients.
Handmade Owl Charms
by Valene Canuto
![]() |
| Handmade Charms |
To those who are not familiar with shrink plastic, this is how it works:
1. Draw and Color on Shrink Plastic (Follow the full instructions posted here)
2. If you want holes on your finished product, punch them before baking.
3. Bake in an oven or a toaster oven for 2-3 minutes.
![]() |
| Large & Flat Shrink Films before baking |
![]() |
| Small, Thick and Hard Charms after baking |
Camera Bling
by @alonabanana
Materials Used:
Subscribe to:
Posts (Atom)